Game Progress Update #39

Game Progress Update #39

Hello world! And welcome to the thirty ninth Dev with Dave Game Progress Update!

By my reckoning this update marks around 18 months of working on this project, and looking back at how far it has come makes me feel quite proud šŸ™‚

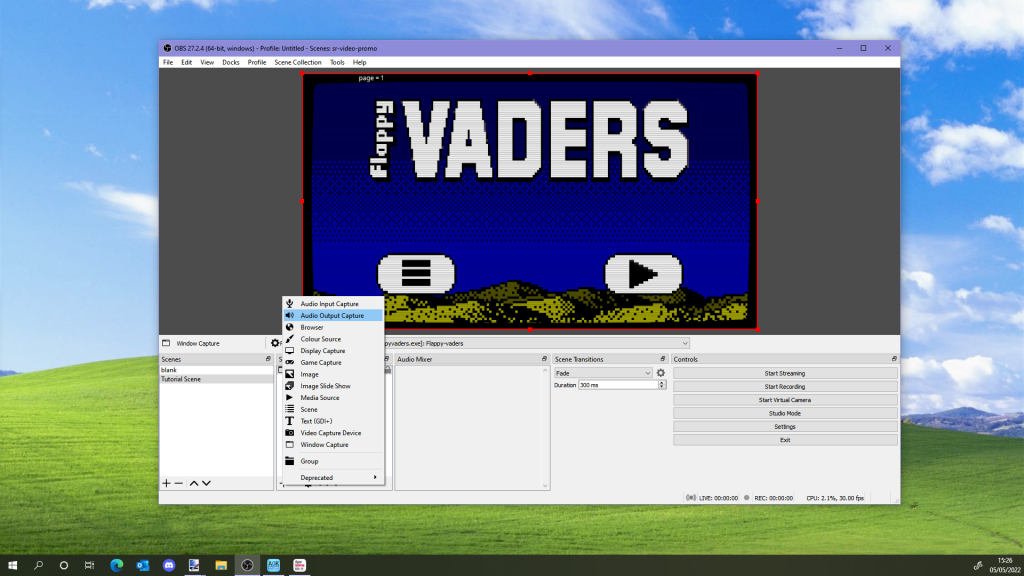
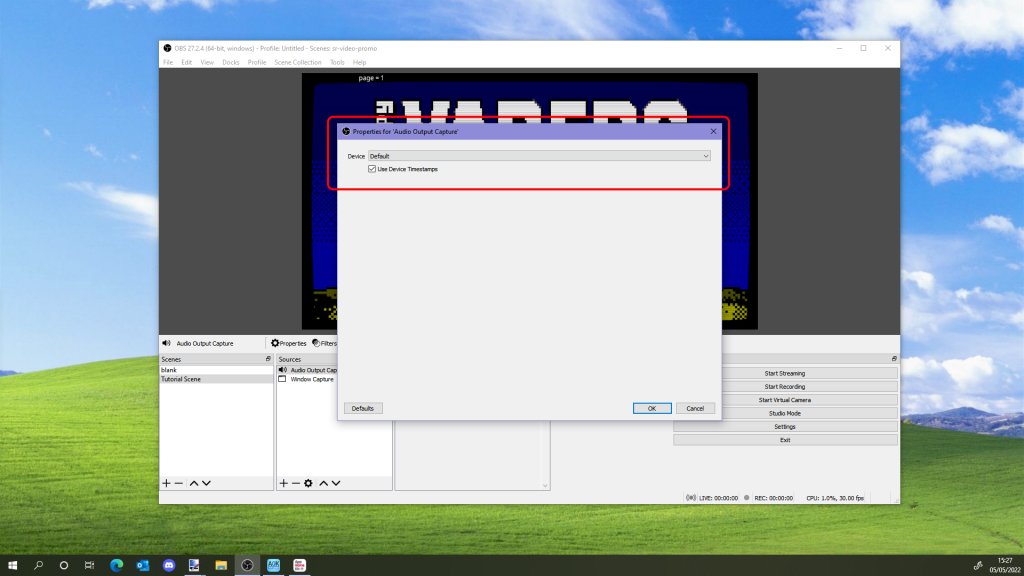
This update I have mostly been working on the Daily Missions again.

But first, I have to start this update with a spot of bad news..

Disaster strikes

Yesterday I was sitting out in the garden under the gazebo, enjoying the evenings coolness and working on Flappy-vaders with the tablet perched on my lap.

Suddenly and for no particular obvious reason, the tablet slipped off and fell onto the concrete floor šŸ˜­

Image showing the damage suffered by my Linx tablet when I dropped it off my lap.

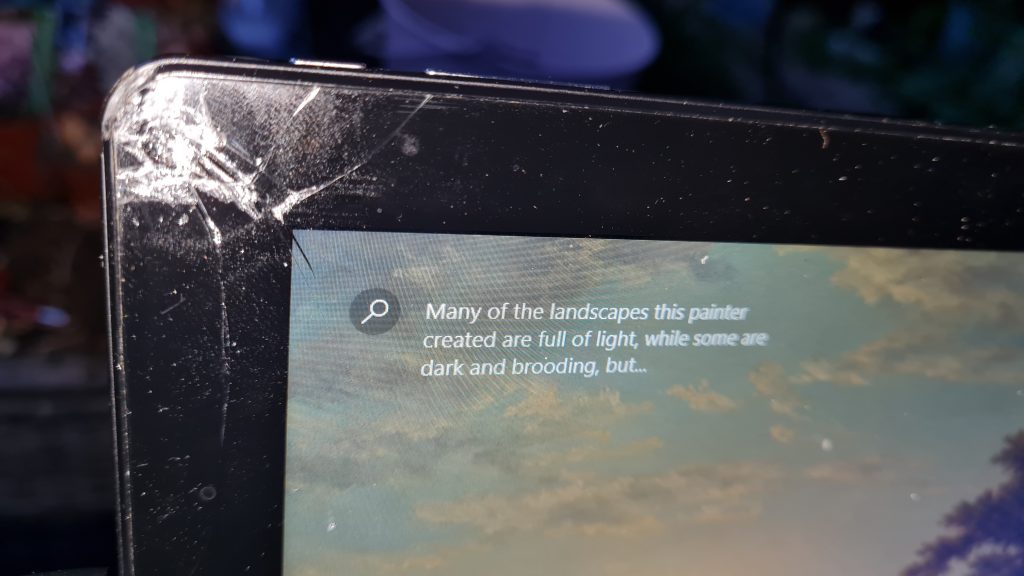
It still works fortunately (for the time being), so I am able to carry on with the project. I’m hoping I can get it fixed at some point though.
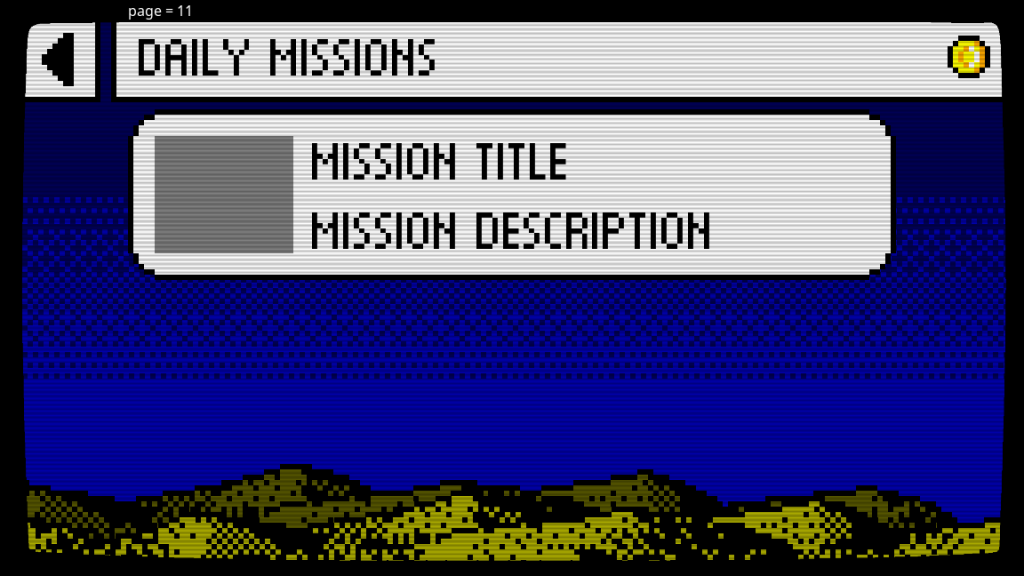
Daily Missions

I have spent most of the time this week carrying on from the last update and the work on the Daily Missions.

The missions themselves were broken down into a mission type, a mission target, and a variable to allow alternate texts.

The first thing I did was create a couple of types, and a variable to contain the types. These were to hold data relating to the three missions as well as the reset time.

I decided to use unix time to track the reset time of the daily challenges, as it is simpler to work in seconds than to convert a regular date and time.

Once I’d created the variable responsible for tracking the three daily missions, it was time to flesh out the functions which would Load and Save the mission data.

I also created a function which generates three new missions, by choosing a mission type and target value at random.

Lastly I created a function which returns true if the reset time has passed, or false if not.

I still need to make some improvements as I’m not happy with the way that the reset time works. I’d rather it be a fixed time every day, where as currently it’s 24 hours after the missions reset.

I also need to create an array which will store how many missions of each type you have done before. This will be used to determine the target value for new missions. This array will also need to be added to a save file somewhere as well.

I’ll try and get these working if not completely finished in time for the next update.

Bug list

I’ve also managed to get the bugs from the Trello board added to the bug board on the website.

Doing this has shown that I still have a few things to set up with the bug reporting, lol.

I’m just waiting for a couple of email addresses from people who have said they wanted to join in the testing before I launch the testing. (So if you want to join in there is still time..)

Reporting seems quite straightforward though.

Image showing the Add bug dialogue

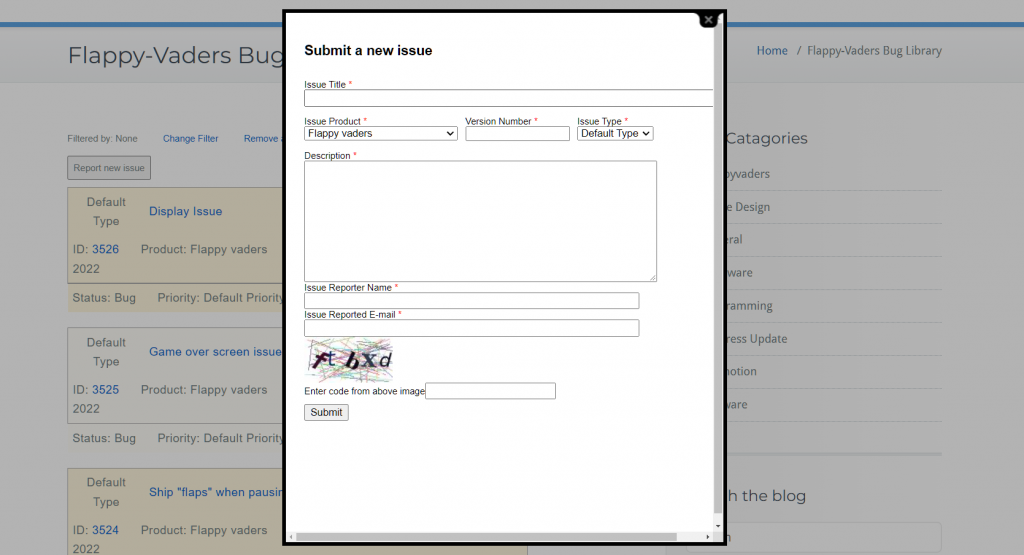
To help prevent spam and abuse of the bug reporting, there is a captcha style test required, and all bugs are moderated before being made visible.

That’s all folks

And that’s all for this progress update! I’ll be back as always in two weeks time with hopefully more news about the progress of the game!

Until next time!

Game Progress Update #38

Game Progress Update #38

Hello world! And welcome to the thirty eighth Dev with Dave Game Progress Update!

It feels like its been a good couple of weeks this last fortnight. I’ve managed to spend a reasonable number of hours coding the game, although I think the social media side of things has suffered a little.

Daily Missions

By far the most work I have done this update has been on the Daily Missions. This has been mostly planning and fleshing out the Daily Missions script with functions.

The basic plan is to have an array which stores the Daily Mission data as a type. This will contain the type of mission it is, the target value, the reward, etc.

I have also planned and started writing functions to handle loading and saving, updating the UI display and achieving missions, adding an unread notification, and collecting the rewards.

Above is a shot of me developing the Daily Mission Panel. The grey square will be an icon to reflect the mission type. I also need to put in a coin icon and a prize reward value, as well as a button to collect the prize when the mission has been completed.

I would also like to put in a divider (either above or below the three daily mission panels) which shows the date/time that the missions will reset.

Social Media

As I said above, what with me spending almost all my time this update working on the Daily missions stuff, I think the social media side of things has suffered a little.

I seem to be really busy with my day job, and not having as much spare time to work on Flappy-vaders as I would like. I’m sure however I will find some kind of balance again.

That’s all for now

And that’s the end of this update. I’ll be back in another two weeks with another. I’ll hopefully have the Daily missions working next time, and have the first test build pushed to Google Play for you guys to test.

Dave šŸ™‚

How to record video of your game

How to record video of your game

I was sat browsing through some game development groups on Facebook the other day (as I often do, lol), when I noticed that a friend of mine had shared a video of the game he was working on.  I couldnā€™t help but notice that the video had been recorded using a mobile phone held in one hand whilst playing the game with the other.  As you can imagine the video was shaky and really didnā€™t do justice to the game, so Iā€™m writing this guide not only to help my buddy, but for anyone else out there who wants to record video of your game for free and with brilliant results.

There are several ways to record video of your game from a PC.  Depending on your operating system, both Windows and Mac have built in ways to record the screen with a few keyboard shortcuts.  There are also several programs, both free and paid for, available for all platforms.  In this tutorial I will be showing you how to capture video and sound using OBS (Open Broadcaster Software) which is available for free from https://obsproject.com/

Configure OBS

Once you have downloaded and installed OBS, and run the Auto configure wizard, then itā€™s time to get started configuring OBS to record game play from your game.

The OBS scenes panel in the bottom left of the screen is highlighted.

In the Scenes panel, press the + icon in the bottom left hand panel to create a ā€œsceneā€.  The scene can contain specific video and audio inputs, allowing you to switch between them whenever you want.  However to record video from your game we only need the one scene.

A dialogue box in OBS asking for a scene name.

Enter a name for your scene in the dialogue, and press ok.  Your new scene should appear in the list in the scenes panel.  You can switch between scenes by clicking on their name.

Next comes adding the video and audio sources to the scene.

Add a video source

Locate the sources panel, which is usually next to the scenes panel in the bottom left of the screen.  Then press the + icon to bring up the list of available sources.

The OBS Sources menu is highlighted in this image.

Now depending on how your game works, you have a choice to make here.  For Flappy-vaders, which runs in windowed mode, I selected Window Capture from the menu.  But if your game runs full screen and not in a window, then the Display Capture is the one that you will want to select.

If you do choose Display Capture then please be aware that the next paragraph or two might be slightly different for you.

Select Create New from the next dialogue and give your source a name before pressing ok and moving on to the next bit.  I simply called it Window Capture, but you can call it whatever is most helpful to you.

Adding a new source in OBS

The next dialogue lets you choose which window you are capturing from, as well settings such as whether or not you want the mouse pointer recorded.

I left everything as it was and pressed ok.

You can return to this dialogue by right clicking on the name of the source in the sources panel, and then selecting properties from the menu which appears.

The next job was to stretch the video so that it takes up the entire space available.  This was a simple case of dragging the bottom right corner handle of the video.

Add an audio source

Adding an audio source in OBS

Once again press the + icon in the Sources panel, and this time select Audio Output Capture from the menu.

Give it a name in the next dialogue box.  I somewhat unimaginatively called in Audio Output Capture.

 Naming a new audio source in OBS

The next dialogue allows you to select which audio device you want to use.  I left this on default as it was fine for this tutorial, then pressed ok to move on.

Record video from your game

Start to record video footage from your game using OBS

Now that OBS is configured to record your game, itā€™s time to run your game, hit the Start recording button, and record some game footage!

OBS will keep recording until you press the Stop recording button, which replaces the Start recording button.  When it has stopped, it saves the video to the format and location specified in the settings dialogue, which is located by pressing File -> Settings.

Hints on recording better gameplay

  • Record a few seconds of footage before interacting with your game, this makes it easier to cut or mix your video.
  • Hide the mouse pointer unless it is really important to your game.
  • Record much more video than you need, and edit it to be more interesting or better demonstrate your game afterwards.

Conclusion

I hope by now you have a better idea on how to record video of your game using your computer.  If you have any further questions about this then feel free to ask in the forum, or even just drop me an email or instant message.

The next thing I can recommend would be to download a Video editing program such as DaVinci Resolve or Hitfilm Express, which allows you to edit the videos you recorded with OBS and add post production effects and voice overs etc.