Keeping your Audience safe
There is nothing worse than spending months cultivating a relationship with your ideal game audience, only to have it taken away in seconds by hackers. This happened to a friend of mine the other day. The hacker spammed every discord server they were a member of. This caused the servers to ban my friends account. Fortunately, after regaining control of the account, they were able to explain to the Admins of the groups what had happen, and were unbanned from most if not all of the servers. Not all such stories have a happy ending however. Let me show you some effective ways of keeping your audience safe.
The best ways of keeping your audience safe online include using strong passwords and not sharing your password with people. Get to know which admin tools your chosen platforms use to help maintain your audience. Things like 2FA, Questions on joining, and moderation tools. It is also important to be careful about clicking links in emails and other messages.
Online Safety 101
It’s best to start from the basics. I know most of you will already be aware of most of these, but I am listing them for two reasons. Firstly, for the few out there who aren’t aware of these important safety tips. And secondly, because you can never be reminded too many times! 🙂
Being aware of the risks which are present while engaging in online activity, especially on social media, is a big step in keeping yourself safe. Knowing what to look out for is important.
Passwords
Whenever you create a new social media account, always remember to use a unique and strong password for it. Regardless of how easy it is to just use one password for everything, from a remembering point of view. If you your password is compromised, then you risk hackers gaining access to everything you use that email/password combination.

My favourite is Strong Password Generator, which I have been using for a good few years. I keep a file of the generated passwords for safe keeping, as well using the Save Username and Passwords option in my browser.
A good strong password should be between 10 to 16 characters long, and consist of a random string of upper and lower case letters, numbers, and characters.
Do not share your passwords with anyone.
Two Factor Authentication
Two Factor Authentication (Or TFA) is a system where you are asked for a second set of user verification data. This is usually a code which is sent via email or text message, or using a third party authenticator application like Facebook and Google do, or sometimes a specific hardware key like a USB stick or a Card/Pin card verifier.
I’m not sure if favourite is the right word to describe 2FA methods, but the one which feels like it balances security with ease of access is when the platform you are logging into texts a code to your mobile phone.
Two-factor Authentication – It’s a pain, but it really helps.
Admin tools for keeping your audience safe
Wherever you are trying to build your audience, there are usually some security methods you can put into place to help keep your audience safe, and to help weed out the undesirables who may try to infiltrate your audience.
As your audience grows, as does the risk of bots or spammers gaining access and using your platform to spread their message. This could expose your audience to links to malware or unrelated content. As well as tarnish you or your brands reputation.
If you are growing your audience as members on a WordPress site or Forum or something similar, then you can usually implement some form of Two Factor Authentication and email verification as well.
You can ensure new members to a Facebook Group answer a set of questions before being allowed to join. And Facebook has a reasonable suite of tools to allow you to block unwanted users and delete comments.
Some platforms offer Post moderation. Which is where users posts have to be cleared by an administrator. This allows you to keep an eye on what new members particularly are posting.
A set of community rules is an often overlooked but surprisingly useful tool. The rules should be clearly posted for all to read, and they should be enforced.
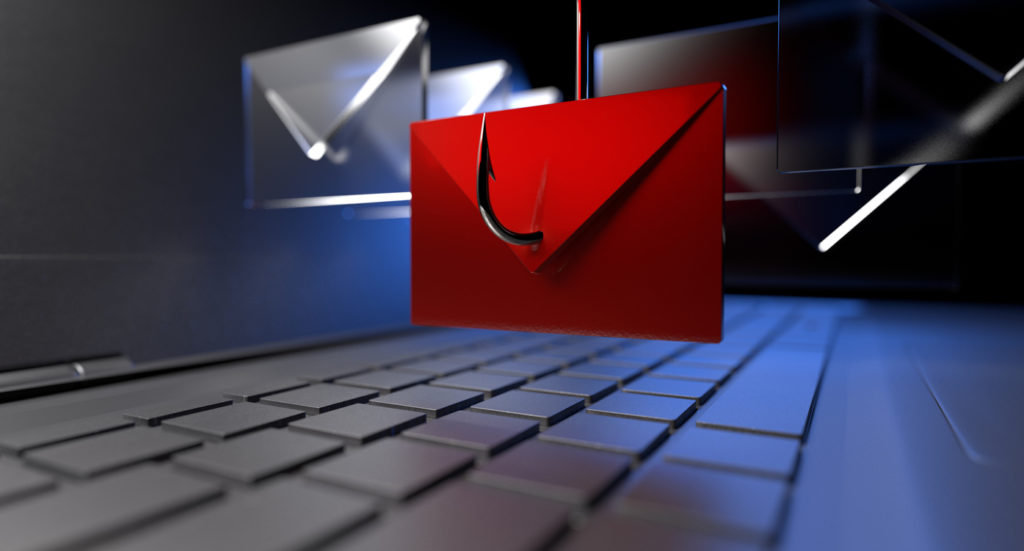
Phishing
Possibly the single biggest risk to your passwords and social media accounts these days.
For those who don’t know, phishing is the practice of sending emails or messages which claim to be from an official or reputable company in order to extract information from a person which can be used to compromise the security of online accounts.
Sometimes these phishing emails are obviously fake. Littered with spelling mistakes, or using an older logo or that sort of thing. But occasionally, the quality is much better.
The best way I have found to check the validity of emails is to check any links included in the text.
On a phone (Both Android and Apple) long pressing on a link will open up a dialogue which shows you where the link goes.
On a PC, you can hover the mouse over a link. This will display the actual destination on screen.
If this is different to the where the button or link suggests this is a huge red flag.
If in doubt – DO NOT CLICK!
Other tips for keeping safe
More than one admin/moderator
It’s usually a good idea to find at least one other trusted person to be a moderator for your audience. Especially if you tend to fall foul of the rules, and end up serving 30 days in FB jail.
But be wary, a rogue moderator can be as damaging as a hacker or spammer.
A while back now, one of the groups I am a member of on Facebook had an admin have a bit of a break down. They went and deleted over half of the groups members before someone else on the admin team noticed.
Check your email address!
All the work you have put in keeping your audience safe could be in vain if the email address you are using has been already compromised by hackers. It’s always a good idea to check any email addresses associated with the project. You can do this for free at https://haveIbeenPwned.com.
Conclusion
Hopefully that covers just about everything. Creating an audience is a labour of love. To lose it in seconds thanks to a hacker does not bear thinking about.
I’ve covered all the main areas dealing with audience security
That is just about everything I can think of for now. It should give you a thorough grounding in how to keep your audience safe. If you have any further questions then feel free to get in touch.