Game Progress Update #2

Apologies

Ok, so it’s fair to say that as I am publishing this today (Tuesday) instead of Friday that I have bitten off more than I can chew with this fortnights targets.

The fact that the temperature has been in excess of 30 degrees C for the last week hasn’t helped much. I don’t fair well in hot weather, and AC is not common in houses in the UK.

Zones

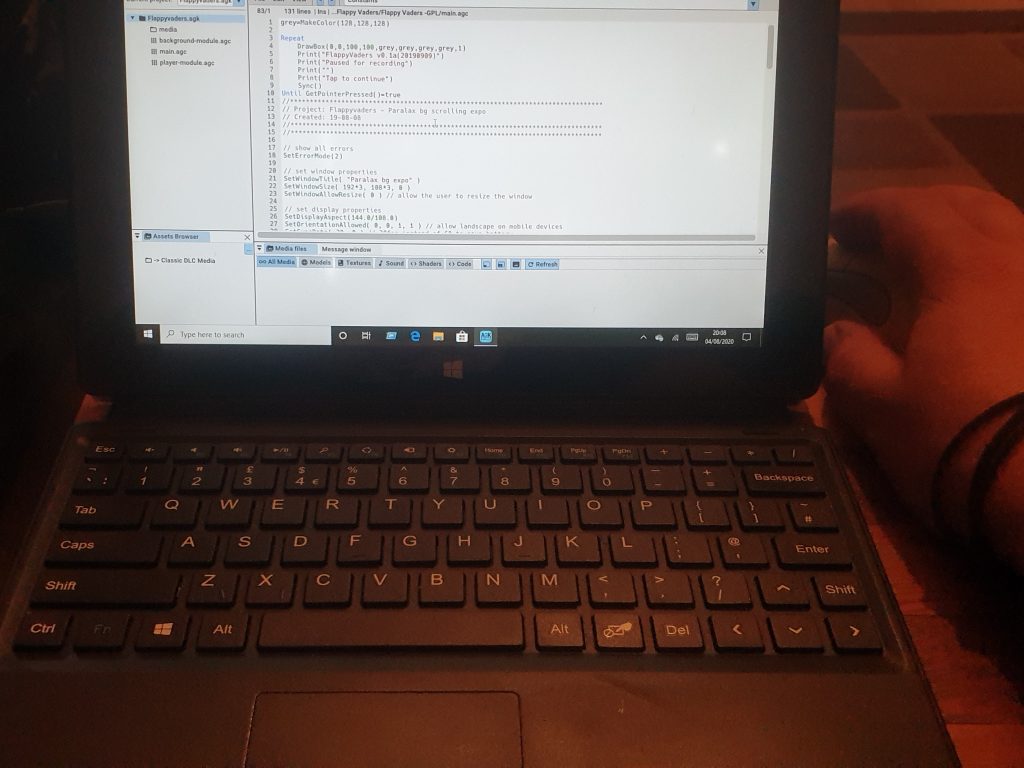
The goal was simple, to get the basics of the zones working, but I had greatly underestimated how many “behind the scenes” systems I would need to implement before I could get this finished.

The theory is simple enough. There is a pool of sprites created at run time which are used to display the current zone on screen.

These are assigned and positioned when the SpawnZone() function is called.

The SpawnZone() function is responsible for taking the zone data (stored in a csv string currently) and breaking it down and using the data to set the sprite properties (position, rotation, and image ID)

The zone sprite positions are updated by the UpdateZone() function, which simply moves all the sprites along to the left at the correct speed. It also measures the distance the sprites have travelled so it knows when to spawn a new zone.

The zone sprites are removed once they pass a set position (currently -192 px off the left hand edge of the screen) and placed back into the pool ready to be used again/

I have written a function specifically to get the next unused sprite from the pool. This allows the zones to transition from one to the other seamlessly without sprites disappearing, which would happen if the sprite was still on screen when it was re-assigned.

I also have created a couple of images, the zone marker and a pipe, to make demonstrating the zones stuff easier. Once again, these are only placeholders and are likely to change significantly as the development progresses.

In the next update

And that’s where we are now. I will carry on with the same task list again for the next two weeks, and hopefully have a lot more to share when the progress report day comes around next, which should be Friday the 21st.

A teensy change of plans

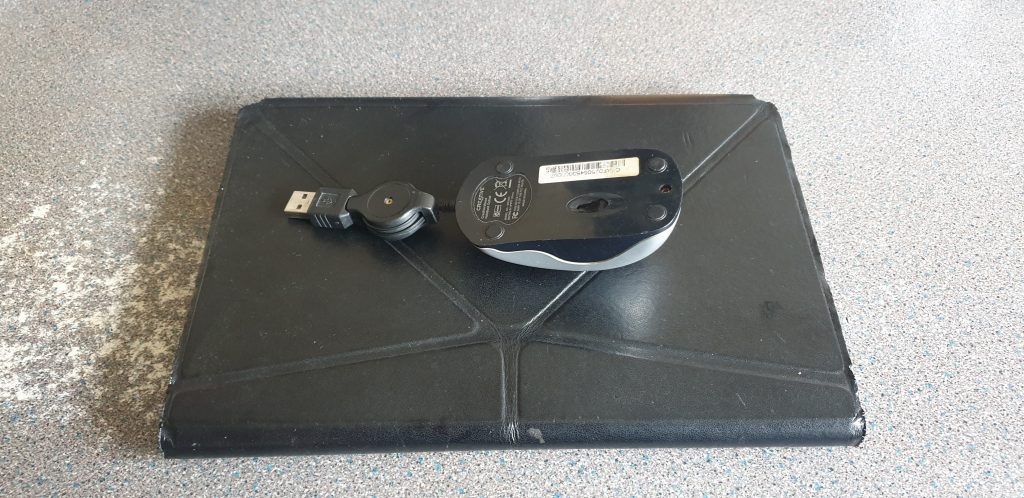
We’ve had a small hitch with the hardware. It seems the tiny travel mouse I was using has given up the ghost, so I’ve decided to switch to the mouse from the children’s computer. (Sorry kids if you’re reading this. If I forget to put it back when I’m finished with it just let me know πŸ˜‰ )

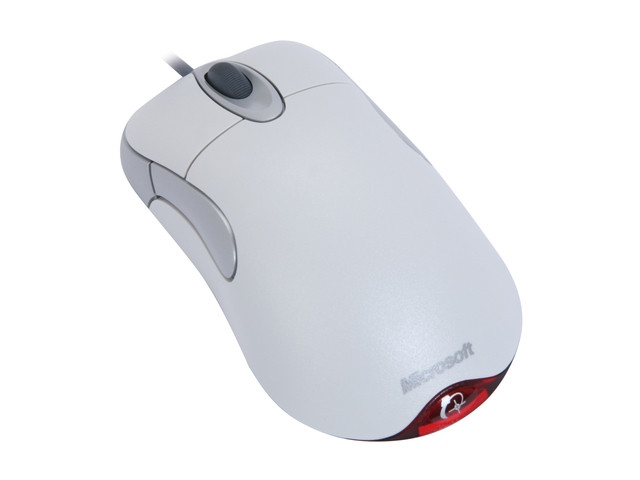
This mouse is an old 5 button Microsoft intellimouse explorer. It’s my absolute favourite mouse design and one I’ve used on all my PCs for as long as I can remember. (I’d guess at around 20 years, lol)

The extra button on either side work as back/forward buttons for internet browsing, which is amazingly helpful.

These mice are as tough as old nails. Even after hundreds of thousands of clicks the buttons still click reassuringly when pressed.

Fingers crossed none of the other hardware packs up!

Unleash the Trello!

For those of you who don’t know, Trello is a collaboration tool that organizes your projects into boards. In one glance, Trello tells you what’s being worked on, who’s working on what, and where something is in a process.

It’s available from https://www.trello.com and is free to use (although paid options are available)

I’ll be using Trello to manage the Flappyvaders project in conjunction with the GDD I shared last week. There is a link to the Flappyvaders Trello Board further down this page.

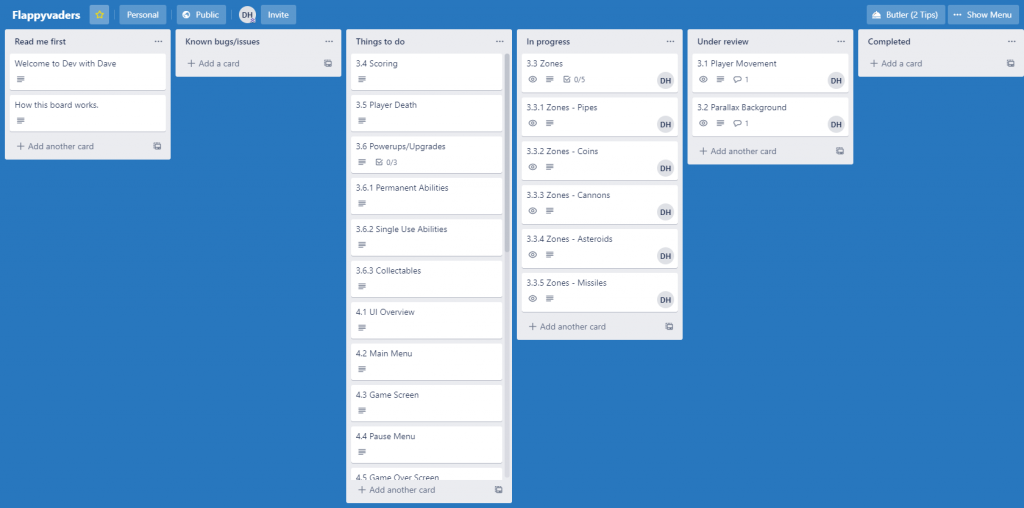
I usually set my Trello up as shown above, and here’s a quick explanation as to how it works.

The first column is for reference, or any notes relating to the project.

Next is the “Known bugs/issues” column, this is explained a bit further down.

The “Things to do” column contains cards which are ready to be taken ownership of and moved to the “In progress” column.

Each card in the “In Progress” column should have an owner. To take ownership of the card, you add your name as member, which adds your initials to the corner so you and other team members can see who is actioning that card. Once all tasks on a card are complete it is moved into the “Under review” column.

The “Under review” column contains cards which have been completed and are ready to be reviewed/evaluated by the project manager. During review any bugs or suggestions can be added to the card before its returned to the “Things to do” column.

If there is no further changes necessary then the card can be moved to the “Completed” column.

If an issue is discovered relating to a completed card, then the card can be moved to the “Known bugs/issues” column, as well as creating a sub card relating to the issue directly. If the issue does not relate to a completed card, then just add a card to the “Known bugs/issues” column to explain the issue.

Click the button below to view the Flappyvaders Trello Board in action for yourself.

If you have any questions about planning a project, creating a design document, managing a project with Trello, or anything else, then please feel free to ask it on our forum.

Game Progress Update #1

Welcome to the first Dev with Dave Game Progress Update!

So, the development of Flappy-vaders has begun, The first phase of which is prototyping.

Prototyping

I consider prototyping to be an important stage of development as it gives you chance to test ideas and adjust them where necessary. Start by coding the bare minimum necessary to test the idea with, play around with it and then once it feels right, you can expand on it. After all, you don’t want to spend 3 months creating a game only to discover that it’s not actually fun to play.

With Flappy-vaders the prototyping gave a quick and convenient method to determine the ideal values to use for the gravity, thrust upward, scroll speed, etc.

Parallax Background

The first system I built was the parallax background system.

First I created the two ground sprites using Paint .Net, and copied them into the project media folder. Both images are 192px wide, the nearer image is 32px tall, and the back image is 42px tall.

Next I created a backgrounds script in AGK Studio to put all the variables, constants and functions relating to the parallax background.

Originally I was planning to use two sprites for each layer, with the sprites jumping back to position to replace the other as the scroll by.

However, because we are using 16:9 as the aspect for the background area, if you played the game on a device with a wider display then a gap appears on the right hand edge of the screen as the sprite doesn’t wrap round in time.

Instead, I decided to use 3 sprites, as shown below, which gives a comfortable buffer for playing the game on phones with really wide screens.

The idea is simple, the sprites move towards the left, and as soon as the first sprite passes the left hand screen edge, it jumps to the third tiles starting position. This repeats indefinitely.

I used a technique called “Timer Based Movement” or “Delta-Time” to ensure that the background scrolls at the specified speed regardless of how fast the device is that is running it. This is basically calculating how far the sprite should have moved in the time it takes to update the display.

I then repeated the process for a second layer and added a variable to store the difference in speed between the layers.

Player Movement

The next script I added to the project was the Player Movement script.

Player movement in this game is quite simple. The ship will accelerate downwards at a constant acceleration until the player taps the screen. This gives the ship a sudden upward velocity. This is then acted on by the constant downward acceleration.

This isn’t necessarily the way actual physics works, but it’s how Flappy bird did it, lol πŸ™‚

As with the parallax background sprites, the player sprite uses timer based movement.

In the next update

That’s all for this progress update.

I’ll be prototyping the zones next, as well as adding collision to the players ship.

You’ll be able to see how I get on in the next progress update!

See you then πŸ™‚

Flappyvaders Game Design Document

It’s taken a few days longer than expected, but I am finally sharing the GDD for Flappy Vaders! Simply click on the link below to read it.

This is the plan I will be following over the next few months as I build Flappy Vaders.

I’m midway through creating the Trello board for this project currently. I’ll share a link later so you guys can get a feel for how I’m using Trello for project management.

If you have any questions about planning a project, then please ask them on the “Dev with Dave” Forums.

God from the machinery.

Here is another classic GDD for you to look at. This one is was written in 1997 by Ion Storm Ltd, for a game with the working title of “Shooter: Majestic Revelations” which again, wasn’t the title that the game shipped with once it was finished.

This copy of the GDD is annotated by the developers, and gives you a good insight into how the game plan was changed during the course of it’s development.

Click the link below to have a read through and see if you can work out what the games final release title was?

I’ll give you a clue – It was one of the first 1st Person shooters which I played online, and from what I remember they kept the name of the protagonist the same in the final release.

A page out of history

Continuing on with the theme of Planning, here is the first of the actual Game Design Documents which I’m sharing with you. I should point out that I wasn’t involved in this project at all and am just sharing the GDD to demonstrate what a GDD actually looks like.

I wonder how many of you out there have heard of a game called “Race and Chase” by DMA Designs?

I’ll give you a clue, that it’s not the title the game was published with, and in the years since it’s release, the Studio have also become known by a different name.

Here’s the GDD for “Race and Chase” anyway. Have a look through and see if you can work out what the game was called on release πŸ™‚

Just click the “View PDF” button below to open the file.

For those of you who haven’t guessed yet here is a behind the scenes video from DMA Designs, giving a tour of the studio as well as talking about the game!

Did you guess from the GDD? That’s right, Race and Chase went on to become the very first GTA game!

Planning

A goal without a plan is just a wish.

The first step in making your game is creating the plan.  I cannot stress how important having a plan to follow is and how much more likely you are to finish the project if you have one.

If you’re a solo developer then you might be able to complete a simple game without having anything written down. For larger projects and certainly for people working as part of a team, then having a written plan to follow is essential.

The plan gives everyone involved with the project a point of reference and helps communicate ideas and concepts.

In the games industry these plans are called Game Design Documents (or GDDs for short) and they have been a cornerstone of game development for decades.

Traditionally GDDs are a word processor document, but I find using a Trello board as well makes keeping everything updated easier.  Wikis are also a popular alternative to a written document.

What goes into a Good GDD

What needs to be in the GDD depends on what type of game it is you are making.  It is normal for a GDD to start with a description of the game.  It only needs to be a few paragraphs long and should not contain any technical stuff.  Think of this as your elevator pitch.

If you are going to be pitching your plan to investors or publishers, it would be a good idea to include target audience and targeted platforms, and touch briefly on your monetization strategy next.

The next section should be setting the scenario for your game.  Describe the world, backstory, characters etc.  Obviously, this is would be more in depth in an epic Skyrim style RPG than in a casual mobile game.

Next comes styling, where you can describe themes and appearance.  Again, I prefer using a brief description of how you visualise the graphics, before breaking it down into smaller sections where you are free to describe individual aspects in greater detail.  I like including mock-ups or sketches in this section to really help people understand exactly what I am hoping to achieve.

It is also worthwhile to pay similar attention to the music and sound effects.  Listing any music which needs composing, and special effects which need creating.  It would also be a good idea here to reiterate any relevant information here from other sections which would help whoever is creating the audio.

Gameplay is next.  Start with a brief overview, before breaking each element down into its own section.  You will want to include things like player movement, scoring, win/lose conditions, enemies and how they behave etc.  Depending on how complex the game your making is, this section can get quite large.

Having described the themes and gameplay, its now time for the User Interface/Controls.  As always, start off with a summary describing the theme/aim of the UI, before dividing it up into more detailed descriptions of the individual elements.  I find that sketches/mock-ups of UI layouts can speed up development no end, and gives a head start on developing the user experience before too much of it is coded.

I like to include a more in depth look at your monetization strategy next.  If you are simply looking to sell your game for a fixed amount then this is not so important but is for other business models such as Freemium.

Keeping the GDD updated

As I said earlier on in this post, I find using a Trello board to be a very helpful tool in keeping your GDD up to date and making sure that each member of the team knows what they are doing.

I usually set up the Trello board with the following columns – Bugs/Know issues, Planned tasks, In Progress, Under Review and Completed.  Planned tasks would usually consist of cards made up of the individual points detailed in the GDD.

Each team member chooses there next task from the Planned tasks column, moves it to the in progress column and signs their name to it, then when it’s completed, it gets moved into the under review column for checking.

Progress is discussed in fortnightly meetings and any changes to the GDD can be bought up then.  If the team member needs something clarifying, or if it is decided to change an element or mechanic.

It is usually best that only one team member is responsible for keeping the GDD up to date.

Conclusion

I hope this has helped to explain just how important it is to have a solid plan to follow when developing a game and given you insight into what needs to be included in it.  I’ll be posting some example GDDs later in the week, as well as sharing the GDD for Flappy vaders.

If you have any questions, then either leave them in the comments below, or pop over to the forum and ask them there 😊